Question
DaVinci Resolveで作成する動画の画面全体の4隅に丸みを付ける方法を教えてください。クロップでは左右上下を切ることはできますが、角は直角にしかできません。OpenFXのビネットでは思うような語りになりません。
Answer
いくつか方法はあるかとは思いますが、見栄え良く、短時間で対応するにはFusionを利用するころがお勧めです。
次の2パターンで記載していますが、ご質問への回答は1つ目のものとなり、2つ目はクリップに対しての枠となるため、は参考とお考え下さい。
- 一定時間の範囲の画面全体に対して枠を付ける場合
- 1つのクリップに対して枠をつける場合
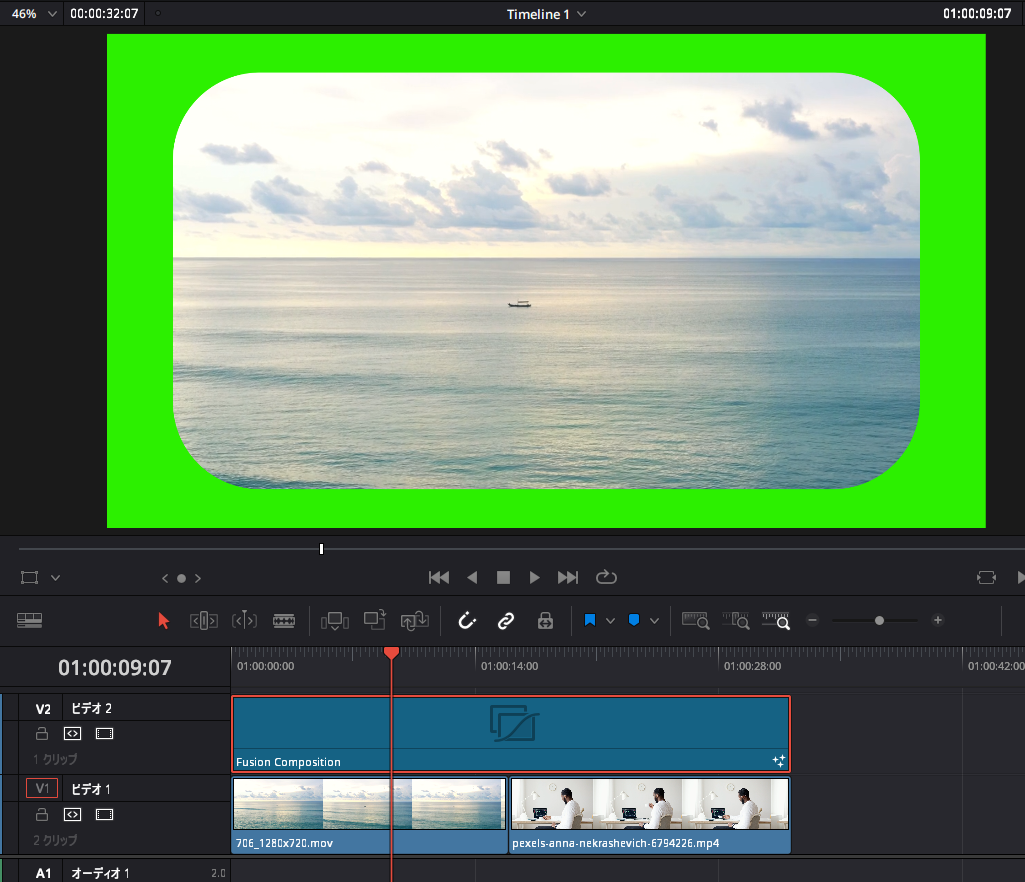
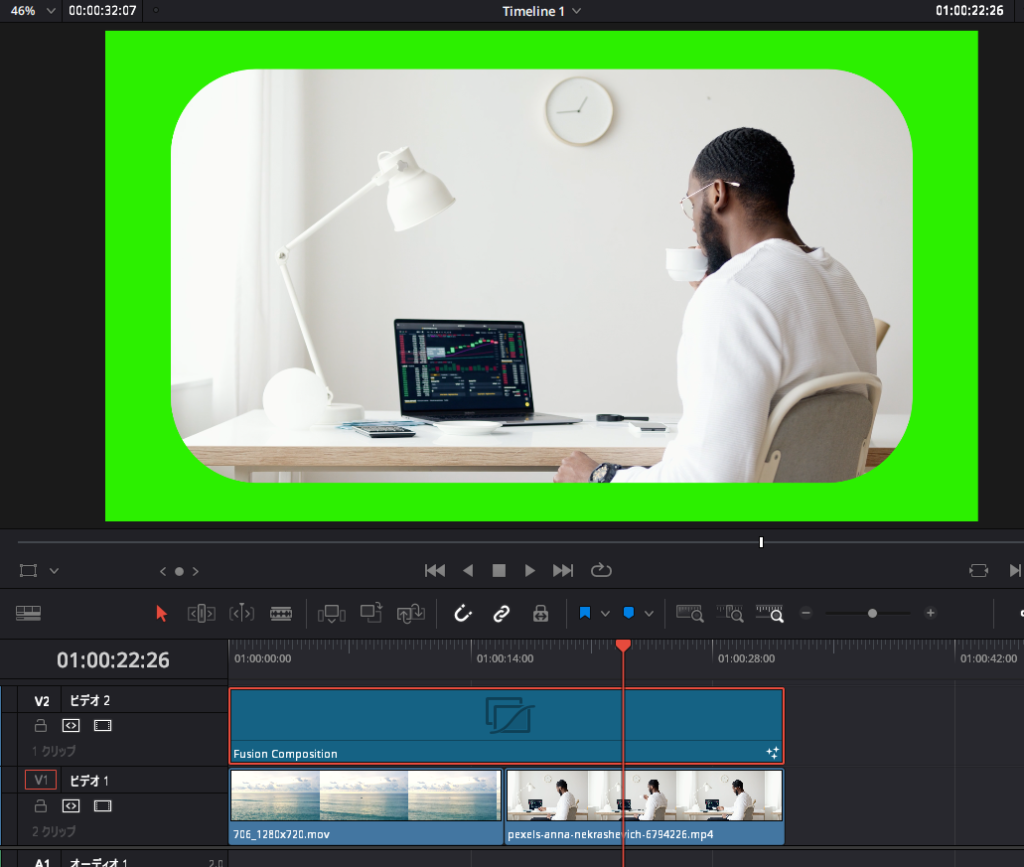
一定時間の範囲の画面全体に対して枠を付ける場合
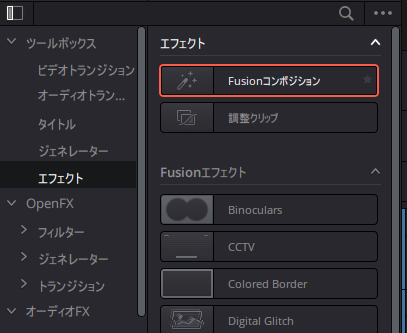
「Effects(エフェクト)」の「ツールボックス」の「エフェクト」にある「Fusionコンポジション」を適用するタイムラインの上にドラック
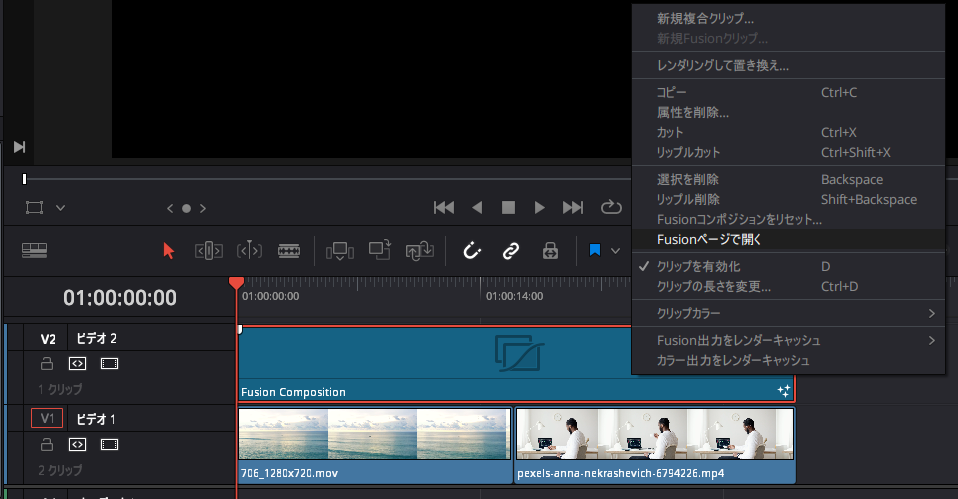
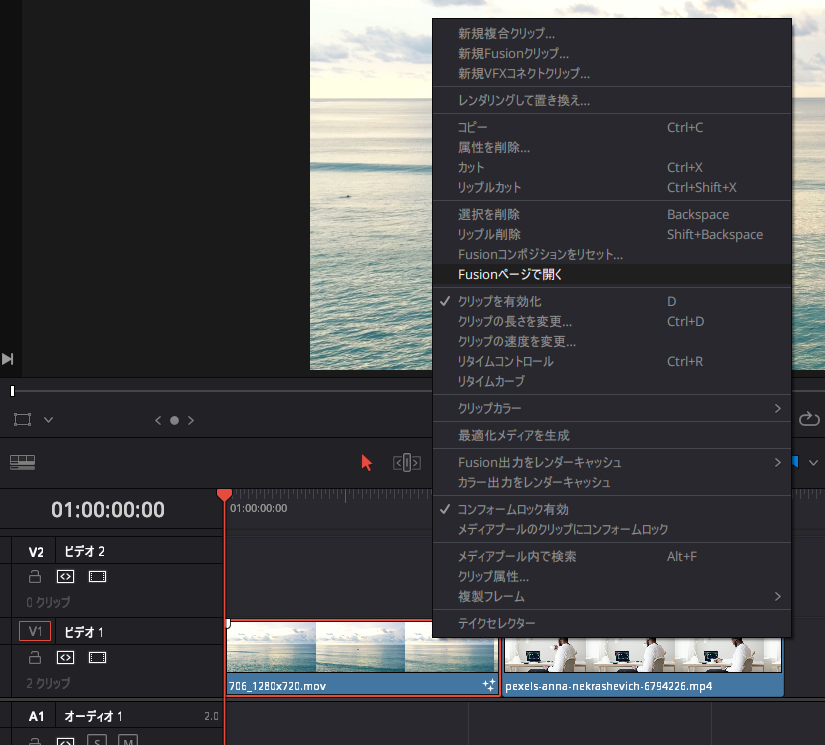
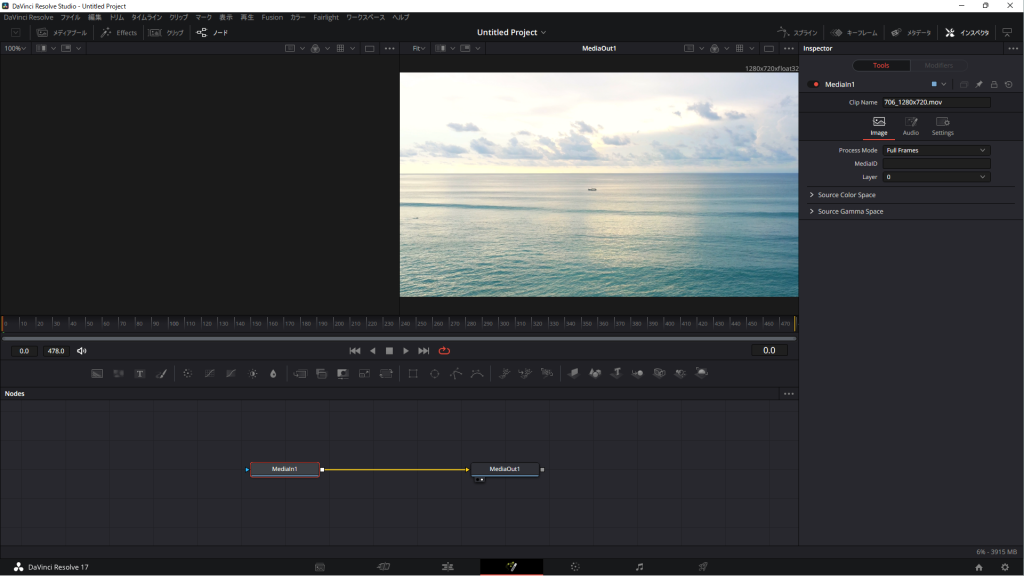
「Fusionコンポジション」を枠を付ける範囲に調整し、「Fusionコンポジション」を右クリックして「Fusionページで開く」を選択
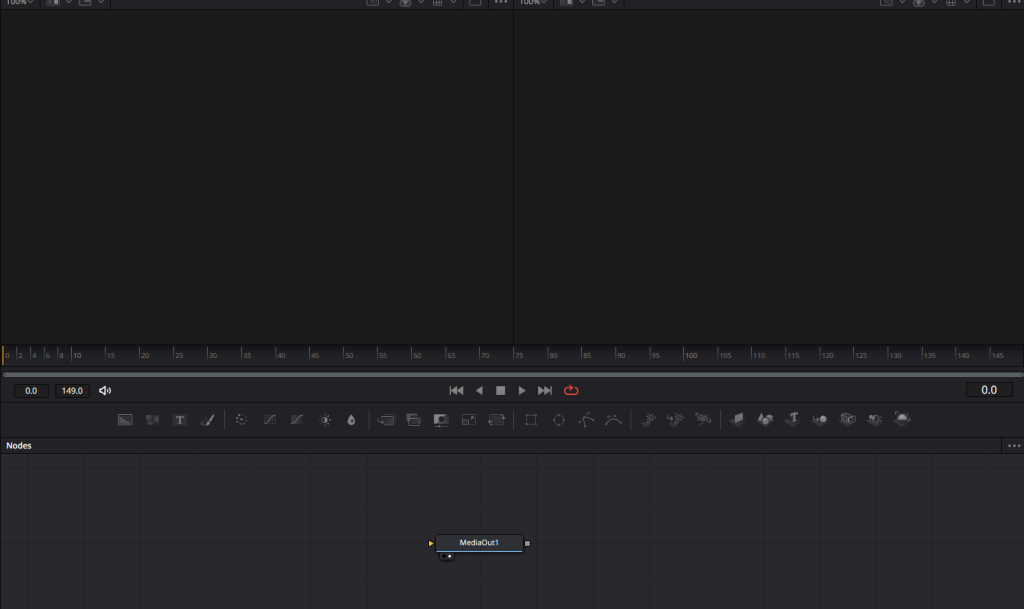
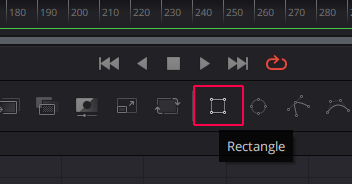
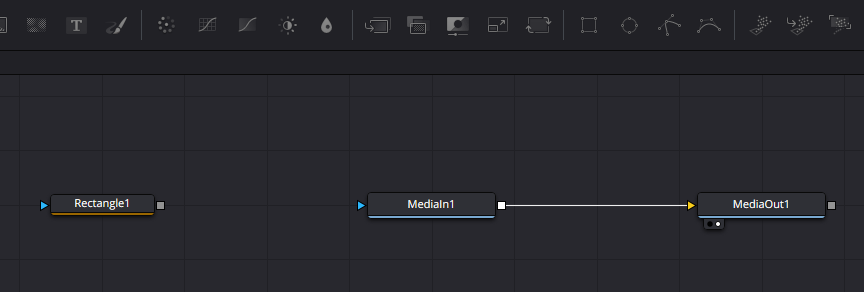
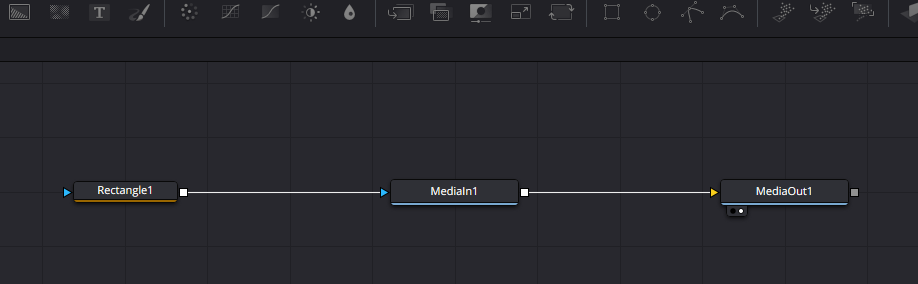
「Rectangle」ノードを選択
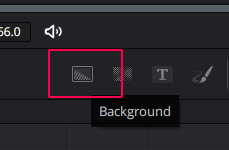
「Background」ノードを選択
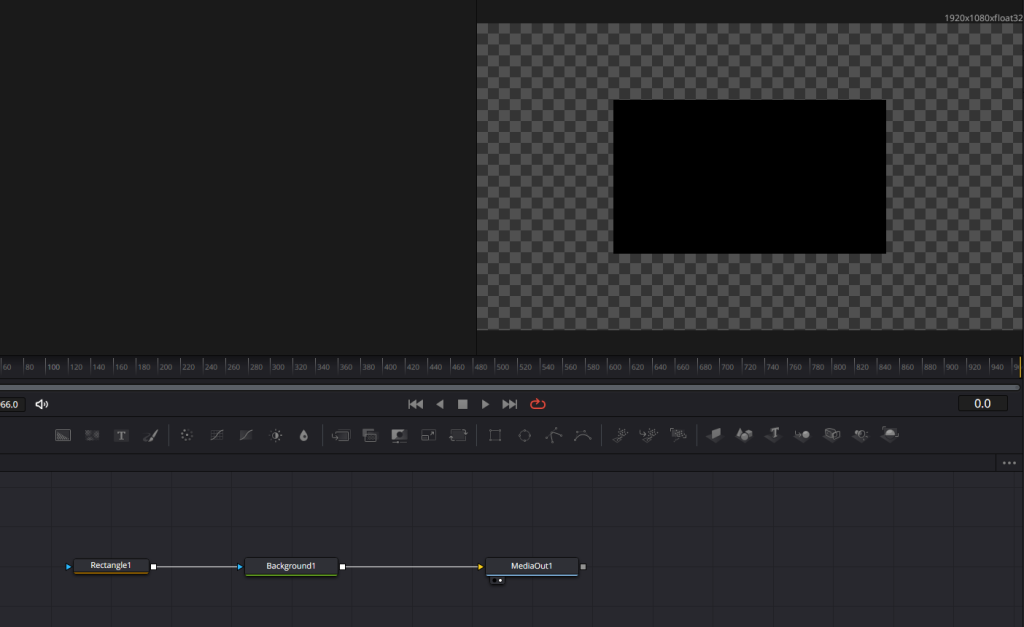
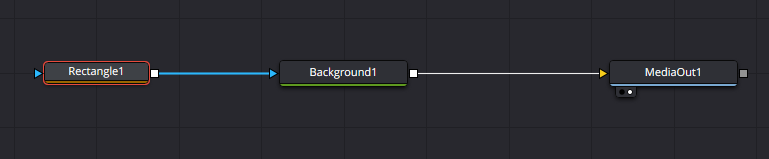
次のようにノードを接続します。

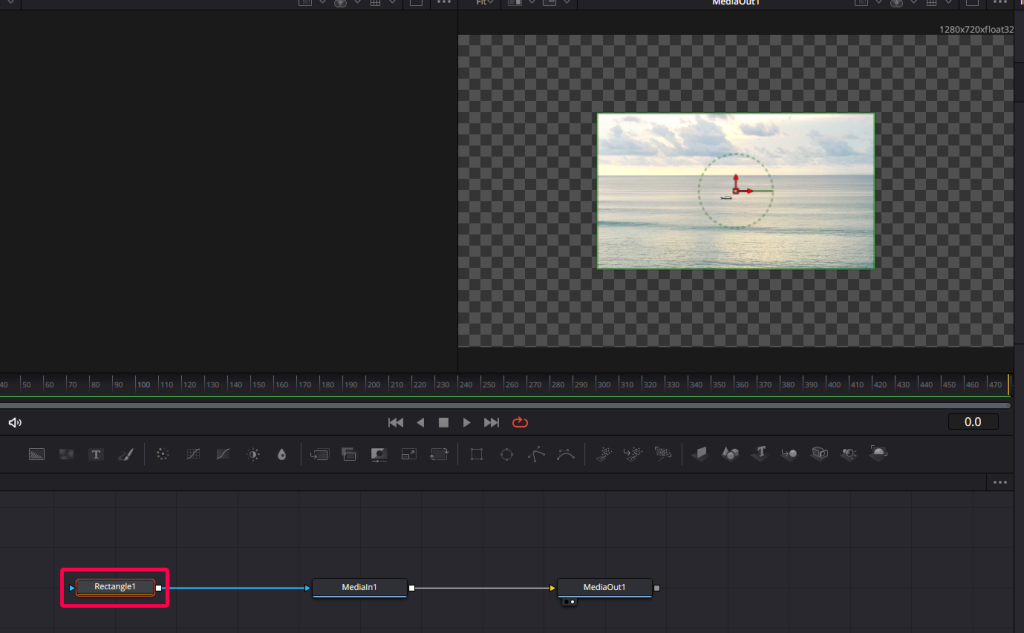
次のようになり、この時点では、「Background」の黒が中央に残り、まわりが「Rectangle」ノードによりマスクされて、透過されている状況になります。
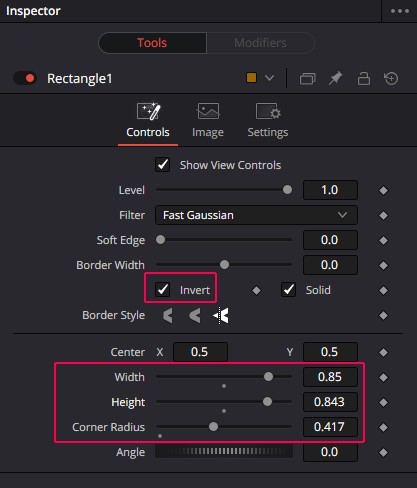
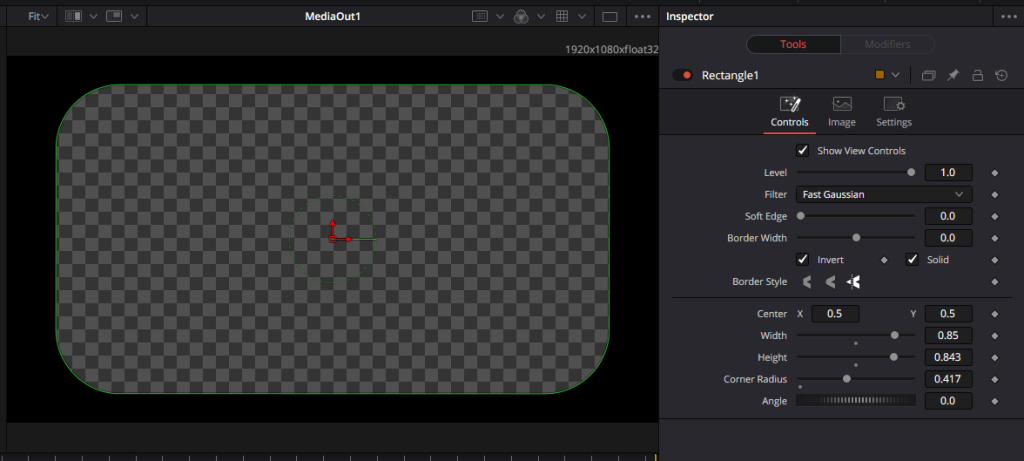
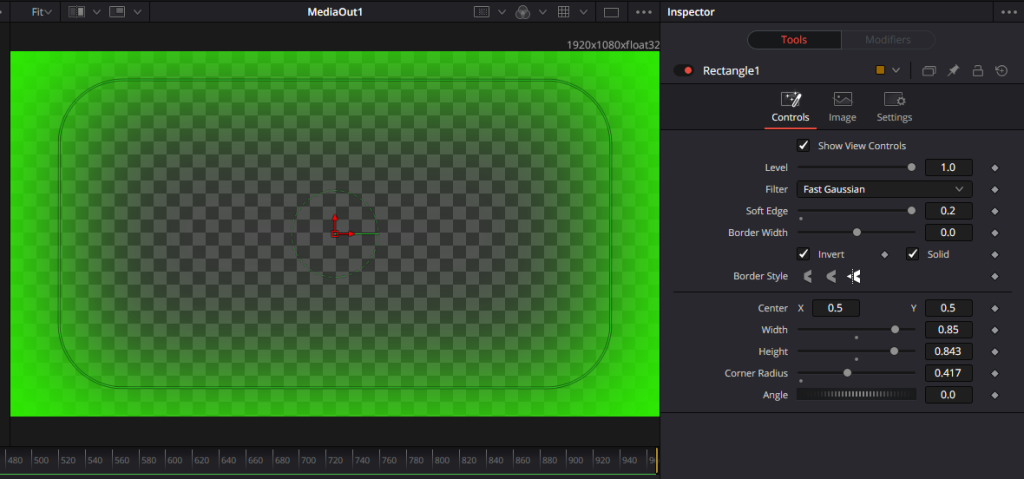
Rectangleのサイズを変更します。ノードエディタ上の「Rectangle」ノートを選択して、インスペクタを開く(「Rectangleノード」をダブルクリックしても開きます。)
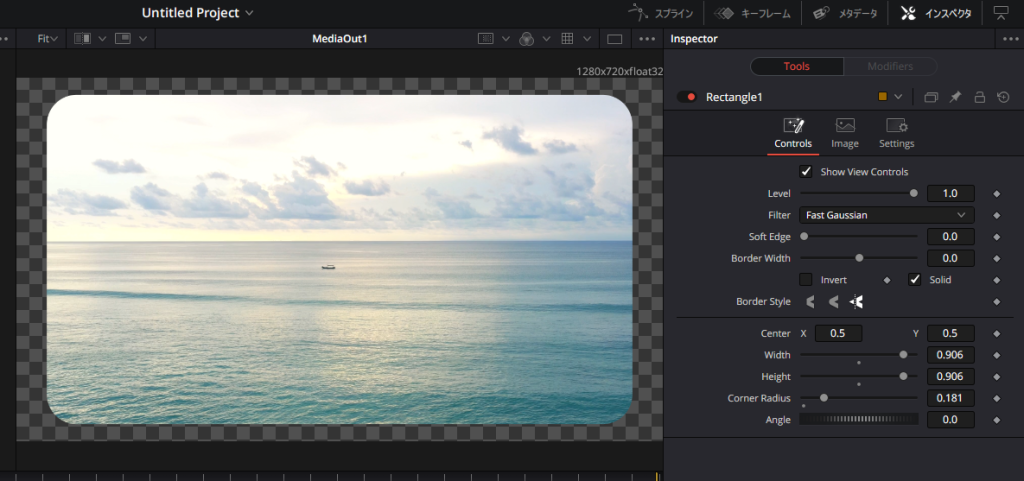
「Invers」を選択して、切り抜く範囲を反転します。
「Width」「Height」で幅と高さを調整します。また、「Coner Radius」で他度を丸めます。
次に「Background」ノードのインスペクタを開きます。

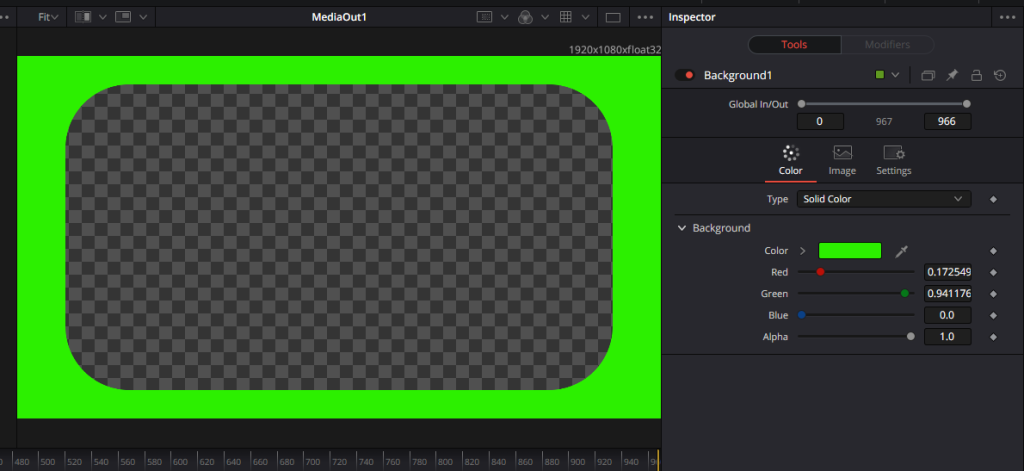
「Color」をダブルクリップして色を変更します。(Red、Green等のスライドバーでも調整可能です。)
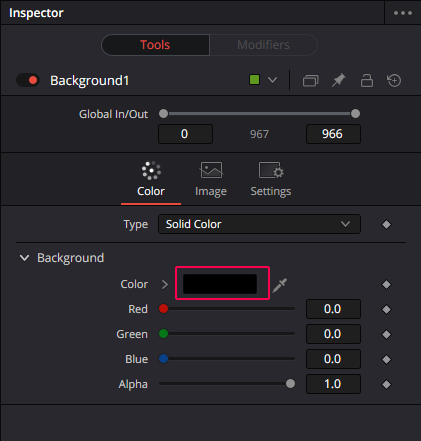

(例の為、極端な色を選択しています。)
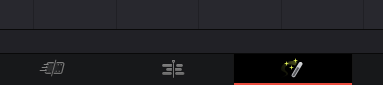
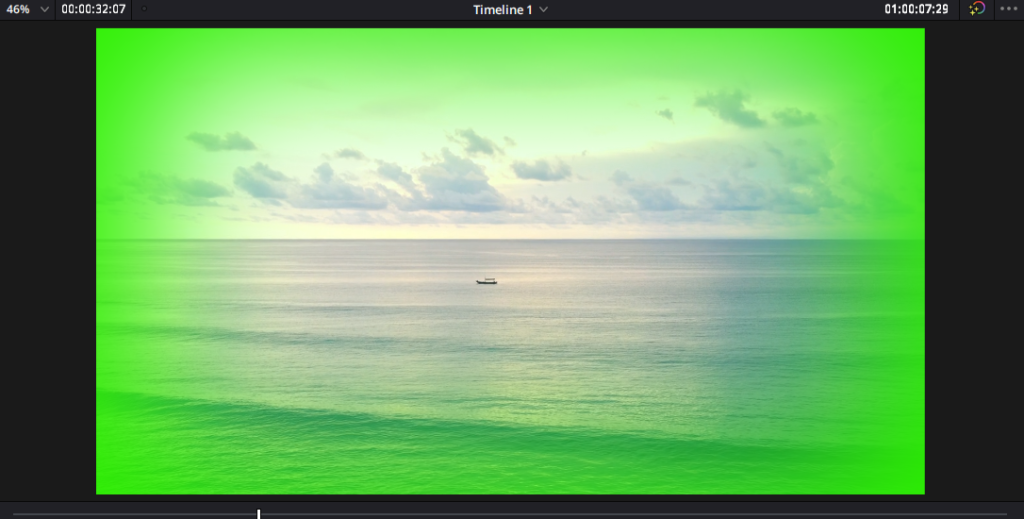
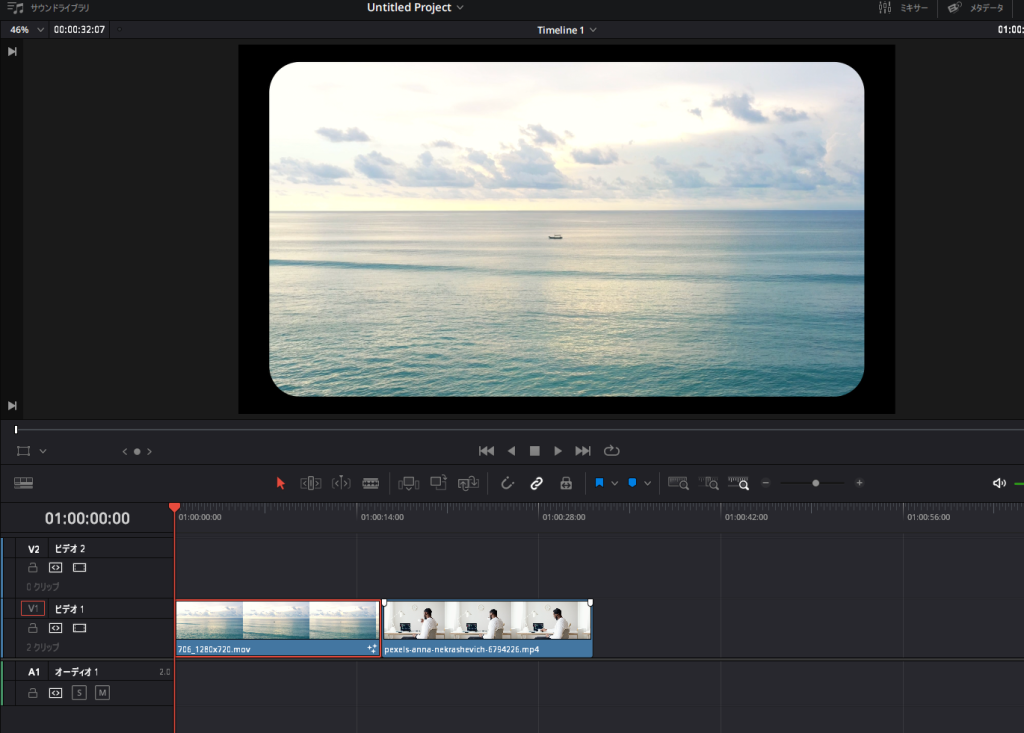
「ページ」を切り替えます。
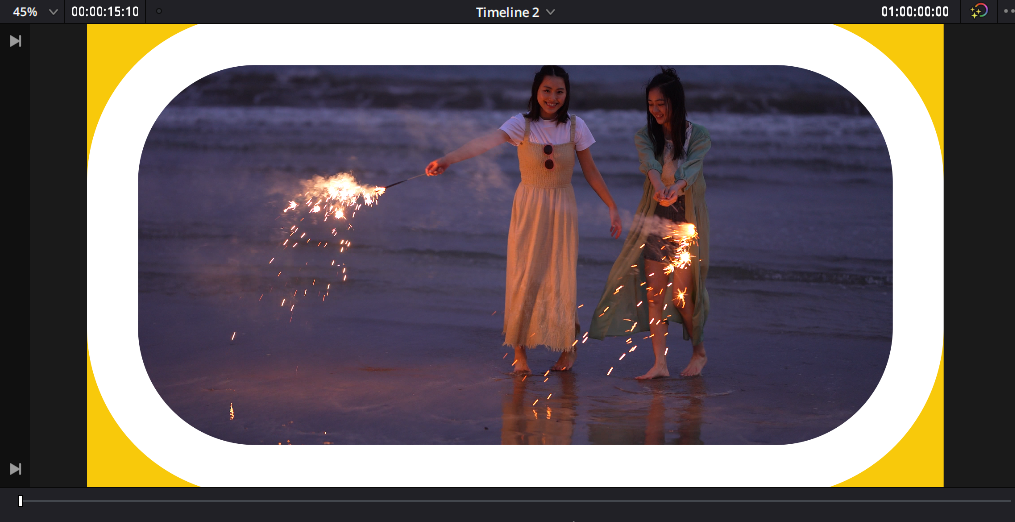
枠ができたことを確認できます。
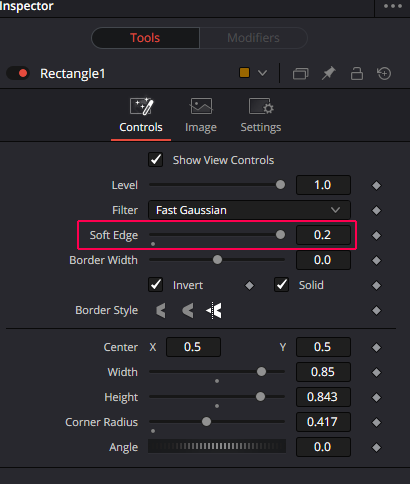
なお、枠をぼかす場合、Fusionの「Soft Edge」を変更することで、調整可能です。
1つのクリップに対して枠をつける場合
クリップを選択して、「Fusionページで開く」を選択
Rectangleノードを選択
ノードを次のように接続
Rectangleのインスペクタを開く)
「Width」「Height」で幅と高さを調整します。また、「Coner Radius」で他度を丸めます。

ページを切り替えます。
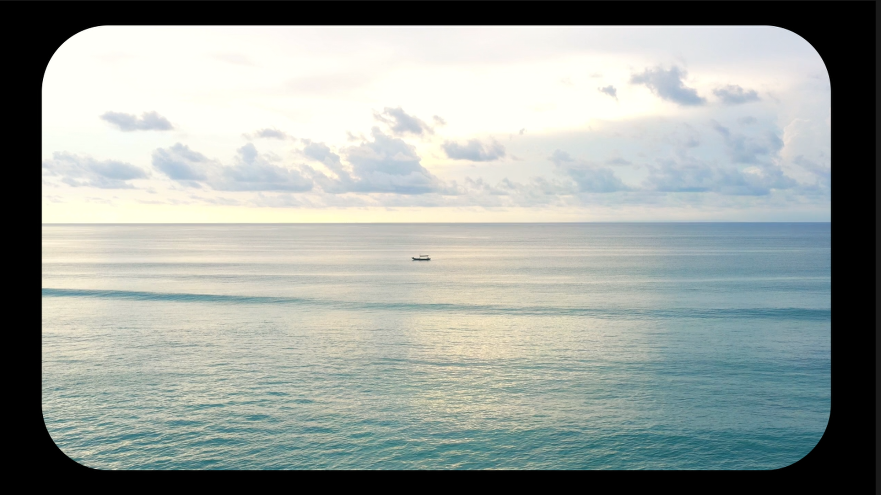
枠の部分は、下のトラックが表示されます。下にトラックが無い場合は黒色になります。
以下参考です。
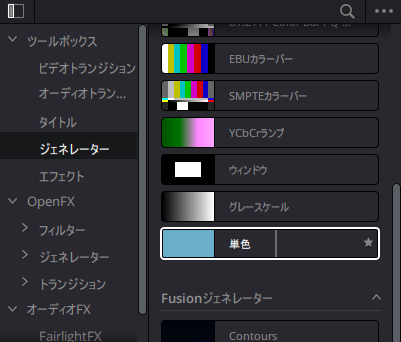
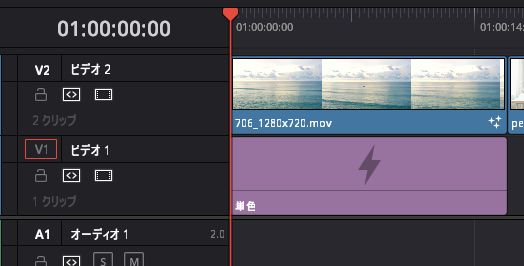
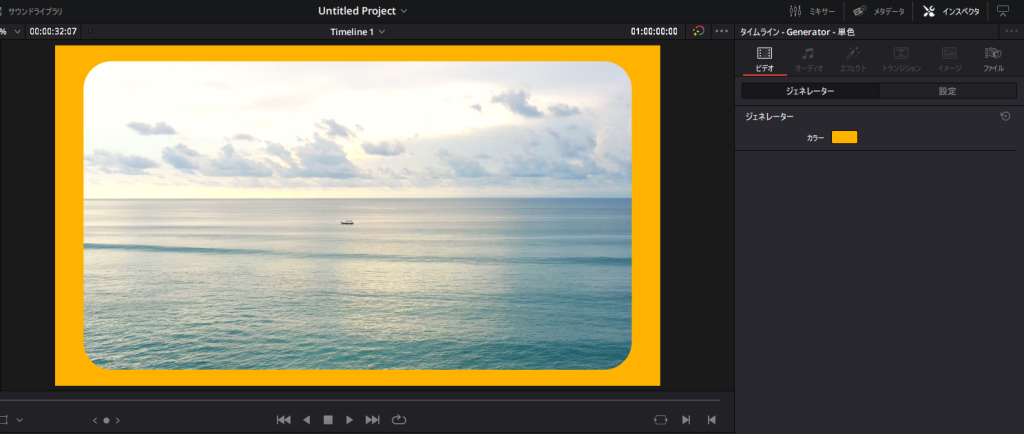
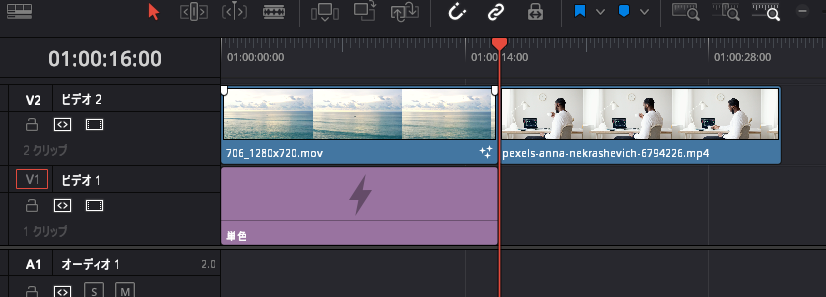
枠に色を付けたいが場合、下にトラックを追加、「ツールボックス」の「ジェネレーター」の「単色」を枠をついたクリップの下にドラッグします。
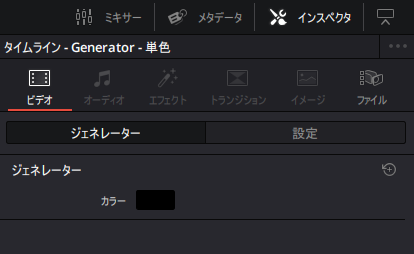
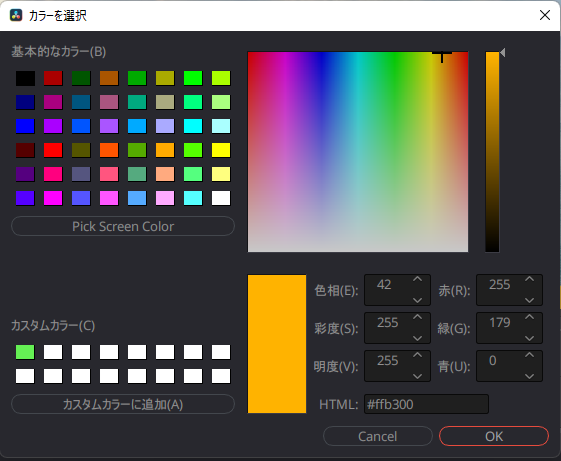
置いた「単色」のインスペクタの「ジェネレーター」にある「カラー」をダブルクリックして、色を選択します。
このように色が付きます。
この方法の場合、枠を設定したクリップだけにしか枠は表示されません。
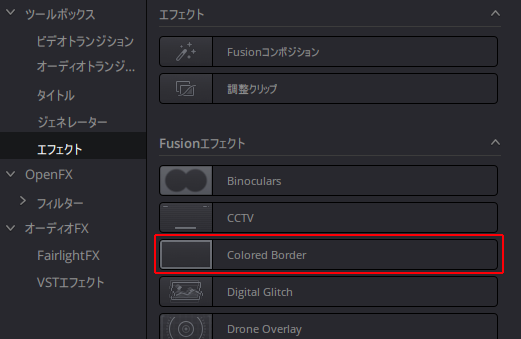
補足 「Colored Border」でも近いことはできる
細かな形状にこだわらず、全画面で丸みを付け、かつ、背景が単色でよければ、「エフェクト」の「エフェクト」にある「Colored Border」でも可能です。これを枠を付ける対象となるクリップにドラッグします。
インスペクタに追加された「エフェクト」の「Fusion」にある「Colored Border」で「角の丸み」や「境界線の幅」を設定します。なお、境界線の色は「Color」で設定します。
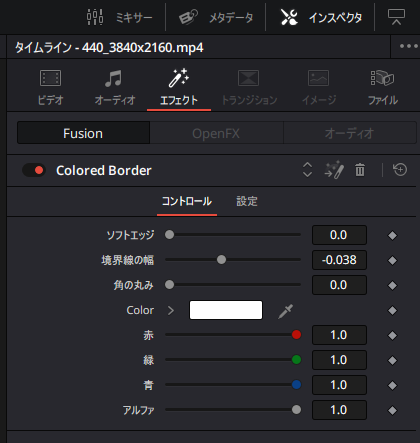
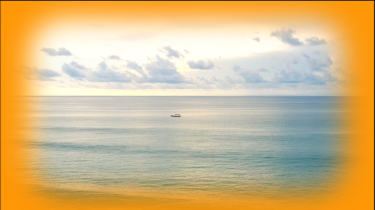
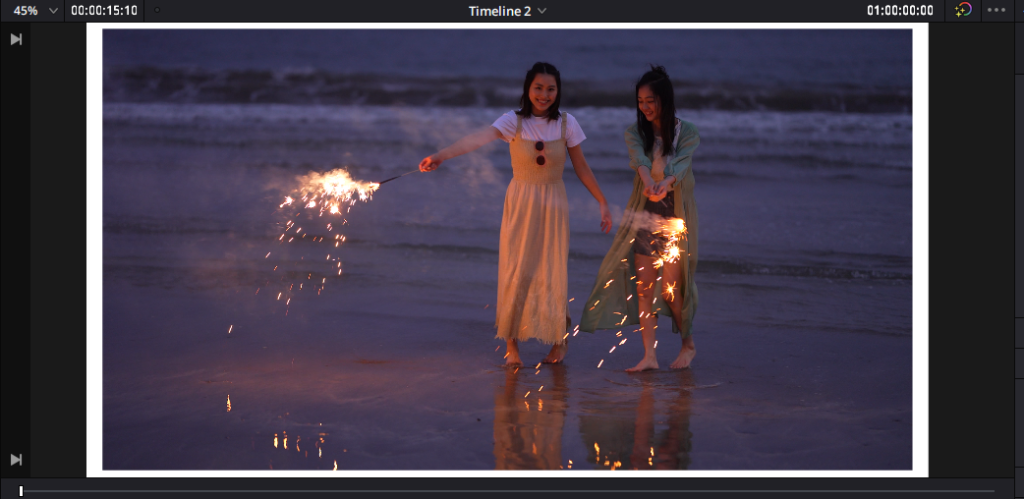
境界線を「0」にして、丸みを最大にした場合です。背景はオレンジの画像を置いています。
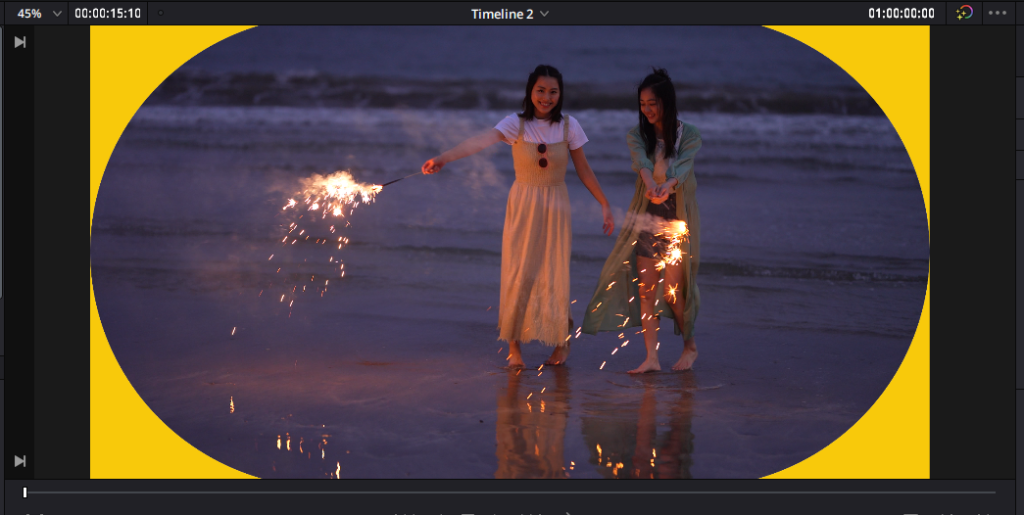
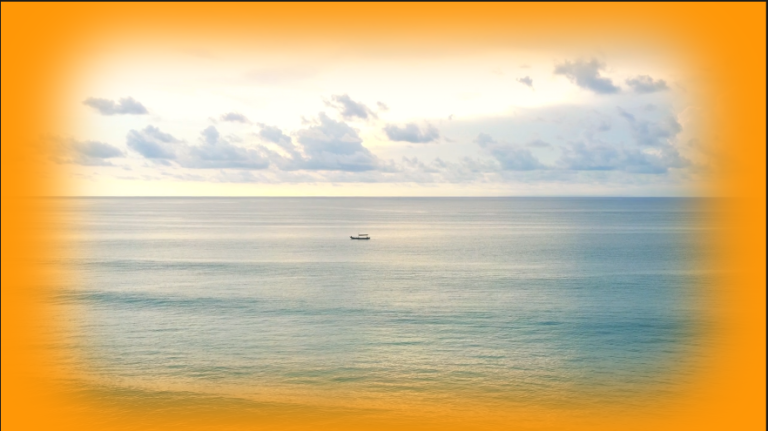
上下に間隔を持たせたい場合は、次のように境界線幅を変更します。背景はオレンジの画像を置いています。オレンジの部分は透過されていますが、白の境界線部分は、透過できてません。インスペクタにある「アルファ」は内側の画像に対する境界線の透明度なので、例のオレンジ色の部分に対しての透過処理はできません。